Saving collections
If you are a place owner, you can save collections for displaying on the place Images page in the Collections library. Each place can feature 30 custom collections.
If you don't see Save Collection when creating a collection, then you aren't a place owner and can't save collections, or you have reached the maximum number of collections. You can still share your collection Sharing collections.
To save a collection:
-
Create a new collection as described in Creating and editing image collections.
-
Click Save Collection.
Note: If you are unable to click Save Collection, then you have reached the maximum number of collections. If you want to save another collection, you need to delete one of the existing collections.
-
Select Save changes to update the collection with your new one or select Save a new collection to make a new collection.

-
If you are saving a new collection, enter a name for your new collection and click Save Collection.
Your new collection is displayed in the Collections library, after the other saved collections. You can change the order that collections are displayed, as described in Managing collections.
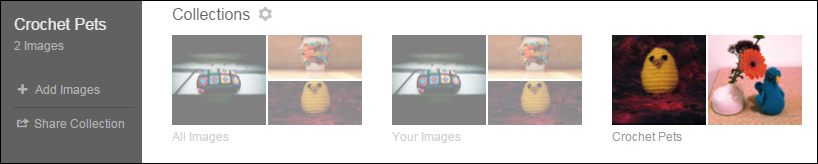
To create a new collection, start by ensuring that you have added images to the place and tagged or categorized them. Collections can be created by filtering by tags or categories, using image tags, categories, and author.
Tagging and categorizing your images when you add them lets you use them in collections. For more information, see Adding images to places.
Note: Only uploaded images appear in collections. Images added through the insert image icon in the content editor, images attached to content, and images added to tiles, widgets, or banners will not appear in Images and cannot be used in collections.
-
To edit an existing collection, select that collection from the Collections library at the top of the page first.
-
Add images to your place by using Images > + Add images.
-
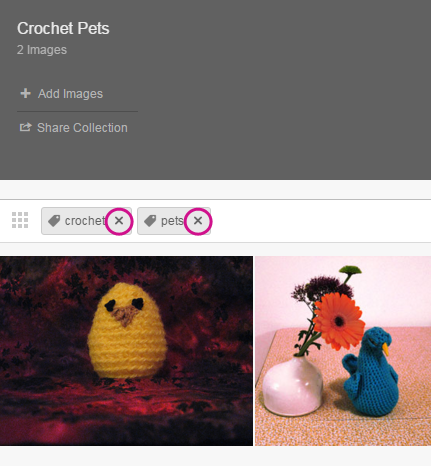
Once you see a few images on the Images tab, click in the Filter by Tag, Category or Author area.

-
From the menu, filter all of the existing images before creating your collection. Select tags, category, and authors until you've added filters that produce the set of images you want.

Note: Each collection can have only one category and one author. If you select a new category or author, it will replace the current one.
-
Remove any existing filters that you don't want to use.
-
If you want, select a different sort order from the Sort by drop-down menu.
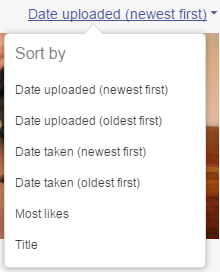
By default, collections are sorted by Date uploaded (newest first).
With the collection created, you can share your collection with other community members. For more information, see Sharing collections.
If you are a place owner, you can save your new collection, too. For more information, see Saving collections.
If you don't have permission to save a collection, share the collection in a message to yourself to view it later. For more information, see Sharing collections.